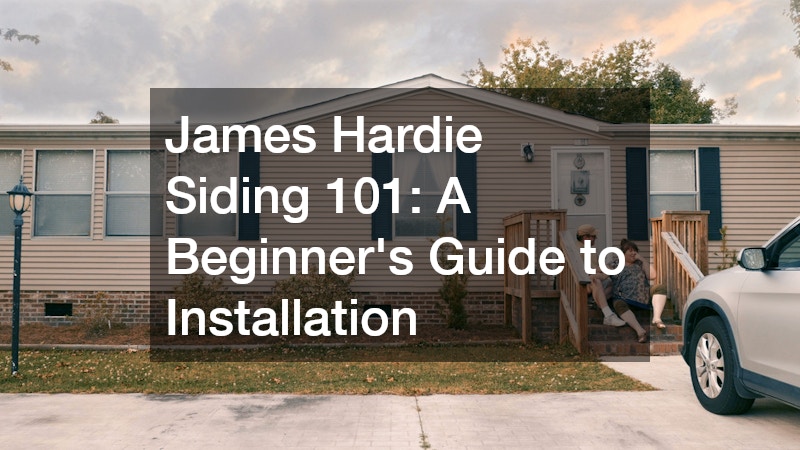
Upgrading your home’s exterior can transform both its appearance and durability. For many homeowners, James Hardie siding has become a top choice due to its long-lasting performance and attractive finish. Known for resisting rot, pests, and extreme weather, it offers a combination of beauty and resilience that traditional wood or vinyl cannot match. If you’re new to exterior remodeling, understanding the basics of installation will help you plan your project effectively and achieve a professional-looking result.
Understanding the Material
James Hardie house siding is a fiber-cement material that blends cement, sand, and cellulose fibers. This composition makes it remarkably strong yet flexible enough to handle temperature fluctuations without warping.
Unlike vinyl siding, it does not dent easily and maintains its color and texture over time, making it a preferred option for homeowners seeking low-maintenance solutions. Fiber-cement siding also offers excellent fire resistance and durability against high winds and moisture, which is particularly beneficial in regions prone to extreme weather conditions.
Another advantage of this siding is its wide range of styles and colors. From traditional lap siding to modern panels, homeowners can choose designs that complement their architectural style. Additionally, James Hardie provides a pre-painted line called ColorPlus, which reduces the need for frequent repainting. Understanding the product’s characteristics is crucial before attempting installation, as fiber-cement siding requires specific tools and techniques that differ from standard vinyl or wood siding.
When considering James Hardie house siding for your home, it’s important to factor in its weight and cutting requirements. Unlike vinyl, which can be cut with basic tools, fiber-cement siding demands a saw equipped with a diamond blade or carbide-tipped blade to achieve clean edges. Preparation, such as checking wall sheathing and moisture barriers, is essential to ensure that the siding performs optimally over time. With the right planning, even beginners can approach the installation process with confidence.
Preparing for Installation
Proper preparation is critical to achieving a smooth siding installation. Begin by inspecting your home’s exterior for damage or rot and replace any compromised sheathing. Installing a moisture barrier or house wrap helps prevent water infiltration and protects the siding from long-term damage. It’s also necessary to plan for flashing around windows, doors, and corners, as this prevents water from seeping behind the panels and causing structural issues.
Measuring and cutting panels accurately is another key step. Start by planning the layout from the bottom up, ensuring that the first row is level and properly anchored. It’s crucial to know that James Hardie siding expands and contracts with temperature changes, so leaving a small gap at each end of the board helps prevent buckling. Using corrosion-resistant nails and following manufacturer spacing guidelines will keep panels securely in place and prevent warping over time. These early steps in preparation set the stage for a cleaner, more efficient installation.
Installation Tips for Beginners
Installing James Hardie house siding begins with securing the starter strip along the bottom edge of the wall. This strip establishes a level base for the first row of panels. Each subsequent row should overlap the one below, following the manufacturer’s guidelines for spacing and fastening. Keeping rows level and seams staggered creates a professional appearance while enhancing structural integrity. Attention to detail during this phase reduces the risk of gaps and misalignment.
Corners, trim, and openings usually require special attention. Pre-cut corner pieces provide a clean, finished look while protecting edges from weather damage. For windows and doors, precise cuts and the use of flashing or trim boards prevent water infiltration. Many beginners find that using a chalk line to mark placement lines across the wall ensures consistent panel alignment and helps maintain straight rows throughout the project.
Installing James Hardie siding for your home can seem daunting at first, but with careful preparation and attention to detail, even beginners can achieve professional-looking results. Understanding the product’s characteristics, preparing the exterior properly, and following manufacturer guidelines for cutting and fastening are critical to success. This siding not only enhances curb appeal but also provides lasting protection against weather and wear, making it a worthwhile investment for homeowners. Whether you choose a traditional or contemporary style, learning the basics of installation ensures your home looks great and stands strong for decades.